Apigility is a very interesting project built on ZendFramework 2 which allows you quickly create decent APIs. Decent in this case means that the API will correctly handle all requests and responses including content negotiation, http response codes, versioning and much more.
Apigility’s killer feature is the admin interface which helps you to create all services, prepare documentation and generate code stubs.
One thing which Apigility is not doing at the moment is generating tests for your controllers and this is where this blog post might help you.
When it comes to testing you will have to decide on which level you are testing. You can say that all business logic used in controllers is covered by unit tests and you don’t need more tests, but there is no harm to have a few additional tests to be sure each controller and action behaves the way you expect. Especially when you are planning to open your API to the whole world then you want to cover all scenarios including authentication.
As an example of how you can write tests we can create simple service called heartbeat. This service, when called with method get will return json response “status” : “ok”.
All code examples can be found on GitHub: https://github.com/machek/ApigilityTestProject
What’s nice about Apigility is how easy it is to start. Just one command and Apigility is up and running, just look at the official documentation.
As written above our simple service could be an RPC service called by get method, similar to the following definition:
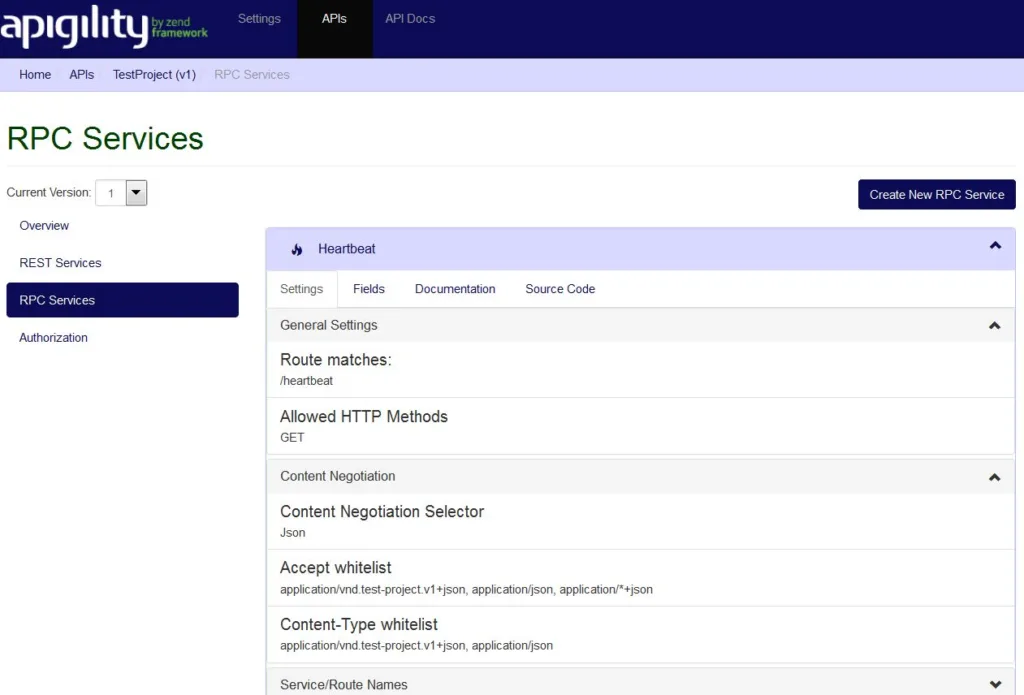
Then Apigility creates the controller and action. Just returning an array with status ok, you then have a working service:
<?php
namespace TestProject\V1\Rpc\Heartbeat;

use Zend\Mvc\Controller\AbstractActionController;

class HeartbeatController extends AbstractActionController
{
    public function heartbeatAction()
    {
        return array("status" => "ok");
     }
}
Now, how to test this action? Good habit is that your tests are a mirror of your code, in this case code is stored in src directory and tests in test directory and for this TestProject it uses namespace TestProjectTest.
Our life is made easier with ZF2 support for testing controllers and extending class Zend\Test\PHPUnit\Controller\AbstractHttpControllerTestCase as is described in Zend Framework documentation.
Pay attention to the Bootstrap.php file which you will need. It took me a while to find the correct version and even then I made a couple of small tweaks to get it working, so please feel free to use the one from my repository.
If your project has a different name, please change / add it to the bootstrap file.
Testing controllers works the way you start whole application, modify request, call dispatch process for tested action and verify response. The advantage is that you don’t need a webserver to send the request through the server, a disadvantage is that this is functional testing, to start the whole application takes time and resources, means it is slow and hungry but still faster than a genuine request.
To start the application you will need configuration. You can use test specific configuration, for example swapping MySQL to SQLite database, but for the beginning we can use same configuration as our application uses in setApplicationConfig method:
<?php

namespace TestProjectTest\V1\Rpc\Heartbeat;

use Zend\Test\PHPUnit\Controller\AbstractHttpControllerTestCase;
use Zend\Json\Json;

class HeartbeatControllerTest extends AbstractHttpControllerTestCase
{
    private $accessToken;

    public function setUp()
    {
        $this->setApplicationConfig(
            include __DIR__ . '/../../../../../../../config/application.config.php'
        );

        $this->accessToken = '005df72fc50bc2f58bc07057beca3732c1de4def';

        parent::setUp();
    }
Now we can look how to test our heartbeat action. All we need is to dispatch request with method GET to /heartbeat, accept json response and verify this response. The test for this can look like this:
public function testHeartbeatActionInvalidContentType()
{
    $request = $this->getRequest();
    $request->setMethod('GET');

    $this->dispatch('/heartbeat');

    $this->assertModuleName('TestProject');
    $this->assertControllerClass('HeartbeatController');

    $this->assertResponseStatusCode(406);
}
In this test we verify that correct module and controller was called. Respose code is very important because Apigility is quite good at sending various response codes when anything with your request is wrong and then checking the response. In this case content type is not set which means text/html will be used, but this is not supported by our method so then code 406 (Not acceptable) is returned.
With a small tweak we can set the correct content type and then verify the expected response:
public function testHeartbeatActionOk()
{
    $request = $this->getRequest();
    $request->setMethod('GET');

    $headers = $this->getRequest()->getHeaders();
    $headers->addHeaderLine('Accept', 'application/json');

    $this->dispatch('/heartbeat');

    $this->assertModuleName('TestProject');
    $this->assertControllerClass('HeartbeatController');

    $this->assertResponseStatusCode(200);

    $body = $this->getResponse()->getContent();
    $data = Json::decode($body, Json::TYPE_ARRAY);

    $this->assertEquals(array('status'=>'ok'), $data);
}
Even though this is a very simple example all the other testing is just an extension of this code, checking correct response when use is authorized / unauthorized, correct method is used and content type set.
Where Apigility really helps is the workflow:
- You use admin interface to define services
- You write (adjust) documentation to describe these services
- You write tests according to produced documentation
- You move to services implementation
This almost forces you to follow a very nice TDD approach.
Next time you will see how you can write tests for services behind authentication. It’s not difficult but there are a few tricks which you might need.